
This past weekend we poured half a day into fixing the front flower bed located in the front of our house. Actually this started back on New Year’s Eve when we spent a large amount of the day pulling grass out of the flower bed. Then of course we didn’t get all the grass, so we hit it with some Roundup – and figured we needed to till it up anyhow.
That is where I come in two weeks ago and till the whole thing up, and we spent the rest of the day pulling grass out and finally leaving it to haunt us. Shala did get the bulbs planted along one side, but the other side was just sitting there yelling at us…
“HELP ME!”
Fast forward to this past weekend and we hit up Home Depot and picked up our goods for the project. Mulch, a small bush, flowers… we already had stepping stones – so we were ready to go. Wait a second, you know we didn’t just get that, you can’t leave Home Depot without dropping a hunny. That is just how it works.
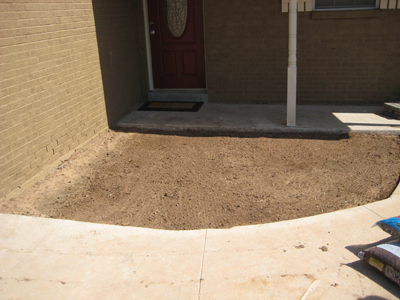
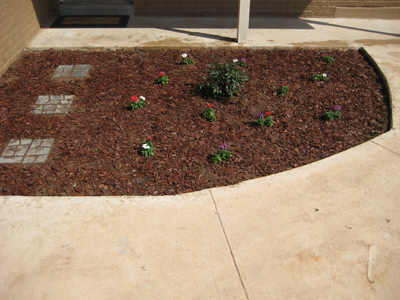
So here is the before picture, so I don’t get going on this post and forget to show you what it looked like prior to our meddlings…
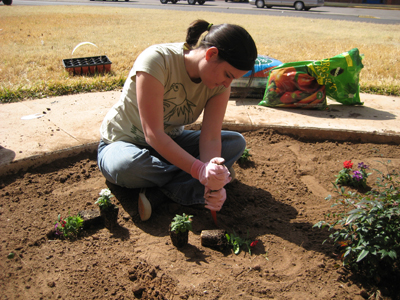
When we got home, we took a minute to survey and plot our task out – which is a must if you don’t want to end up doing it again. After doing so we got going on digging the holes and planting the various flowers & bush. It was fun, Shala’s Mom had gotten her a early birthday present a few weeks ago – which she got to use. She had a whole slew of gardening tools, gloves and a knee pad. Shala was happy to put on her pink gloves and grab her cute lil girly tools and get to work.
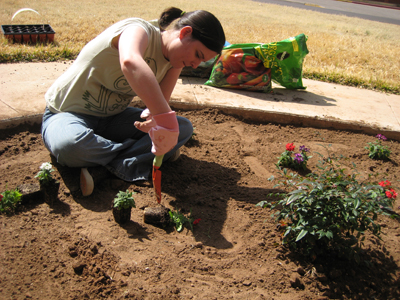
We planted everything (as you can see) and then placed our stepping stones. We have placed these stepping stones 3 times now – so we are pros at it. Or maybe we aren’t? Since we have had to do it so many times. Crap. Busted.
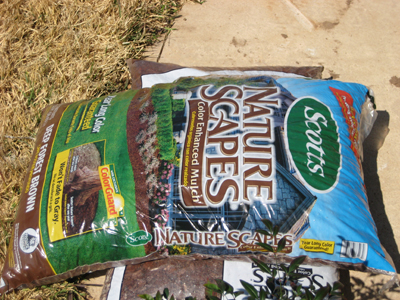
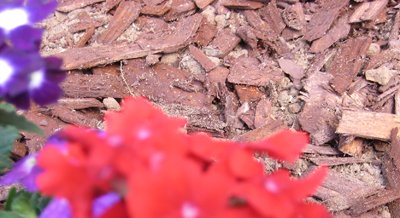
Pretty quick we got the flowerbed whooped into shape, then began the mulching. Of course we didn’t get enough… does anyone ever? So we had to make another trip back to Home Depot, this time we didn’t drop a bill though – just got our Mulch and hit the road. We found nice mulch though and if you are in the market – it doesn’t fade quickly like most mulch since it has color enhancer or some crap. That makes it handy. So if you are shopping mulch, try the Scotts Nature Scapes Color Enhanced Mulch. Oh… and did I mention it is about 4 bucks a bag? See below for pics. I will include one of the mulch close up, so you can see it out of the bag.
After we picked up the extra bags of mulch and got it all integrated, we stepped back and smiled. Finally, we got it finished up – and can be proud of our front flowerbed. Before, it was more of an eye sore. The bush, sorry I can’t remember the name of it at the moment – will grow to be about 3 foot wide and 3 foot tall. The flowers, you got me – they are flowers. Perhaps Shala can expand on that for me… I just work here. 😉
On with the big reveal…
One last thing…
The total cost of the redesign (give or take) was about $40. Not including labor. 😉
Update: So I was at home at lunch and grabbed the tags for those plants and I have the info now. The small flowers are a Verbena Mix (white, purple, red, pink) and the bush is a Gulf Stream Nandina.
hey, the flower bed looks really nice….good job!!!
thanks mom 🙂
we aim to please.
Pingback: Mistakes When Gardening: Learn gardening by our mistakes | Double Danger